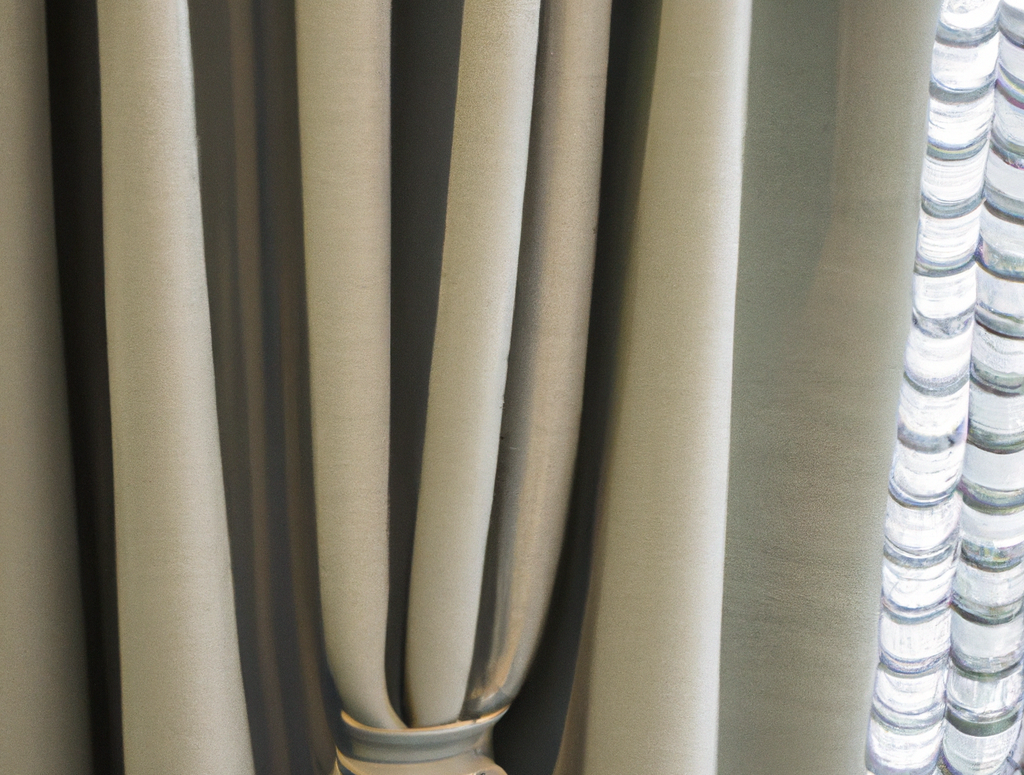
If you want to add a touch of elegance to your windows, pencil pleat curtains are an excellent option. Not only do they provide texture and depth to your space, but they also offer privacy and block sunlight. However, if you’ve never hung pencil pleat curtains before, the process might seem daunting. Don’t worry! We’ve compiled a comprehensive guide on how to hang pencil pleat curtains.
Step 1: Measure Your Pole or Track
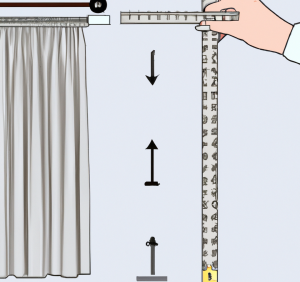
Before purchasing your curtains, measure your pole or track with a measuring tape. The width of the curtains you choose should be double the length of the pole or track. If the curtains are not wide enough, they will not fit the pole once they are scrunched.
Step 2: Attach the Rings or Gliders

After obtaining your curtains, it’s time to attach the rings or gliders. If you have a pole, remove one side of the pole and slip on the curtain rings. Use an even amount of rings to ensure that each curtain has the same number. If you have a track, attach an even number of gliders to it. Make sure to choose rings or gliders that match the curtain pole.
Step 3: Secure the Heading Tape
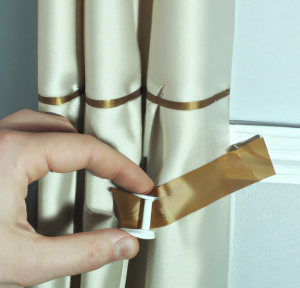
The heading tape is the top section of the curtain that contains three cords, which are used to scrunch the curtains into pleats. To secure one end of the heading tape, tie the cords into a knot.
Gather the three cords at one end of the heading tape and tie a knot by looping the cords and pulling the loose ends through the loop. Pull tightly to secure the knot. Some curtains may already have one end of the cords sewn into the heading tape, in which case this step can be skipped.
Step 4: Scrunch the Curtains
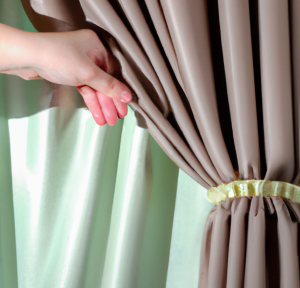
Hold the untied, loose cords with one hand and pull the cords to start scrunching the curtain. Use your other hand to gently pull the curtains along the cords. Keep scrunching and pulling until the curtain is half the length of the pole. Use a slip knot to tie off the loose cords.
Hold the loose cords with one hand and loop the cords around your fingers. Pull the cords through the loop, but not all the way. At this point, the cords will resemble an ear or a loop. Tighten the string around the loop to create a slip knot. Tuck the cords into the pocket between the curtain and the heading tape.
Step 5: Even Out the Pleats

Some pleats may appear larger or smaller than others. To achieve uniformity in the pleats, gently pull the curtain along the string until all the pleats along the heading tape are the same size and shape.
Step 6: Choose Which Row to Fasten the Hooks

The heading tape has three rows of pockets located at the top, middle, and bottom. If you want the pole or track to be visible, select the middle or top row. However, if you prefer that the pole or track remains hidden, select the bottom row.
Step 7: Attach the Hooks
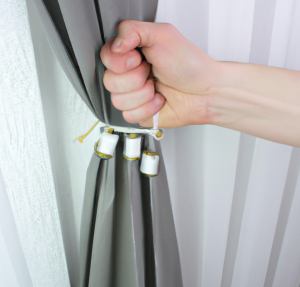
Divide the number of rings on the pole by two, which gives the number of hooks needed for each curtain. Starting from the outside edge, slip and loop the hooks into every fourth or sixth pocket, depending on the width of the curtain. Ensure that the hooks are evenly spaced apart and attached to the pockets rather than the cords. Insufficient hooks can cause the curtain to sag in between.
Conclusion
Hanging pencil pleat curtains may seem daunting, but with a few simple steps, it can be done quickly and easily. By selecting the right size curtains, attaching the rings evenly, securing the cords tightly, and evenly distributing the pleats, your curtains will look great in no time.
Remember to take your time when hanging the curtains and double-check that everything is secure before stepping away from the pole or track. Once you have finished, step back and admire your work! With these tips, you can create a beautiful and functional window dressing that enhances the appearance of any room in your home.

